Set up the Workspace
AWS Cloud9 is a cloud-based integrated development environment (IDE) that lets you write, run, and debug your code with just a browser. It includes a code editor, debugger, and terminal. Cloud9 comes prepackaged with essential tools for popular programming languages, including JavaScript, Python, PHP, and more, so you don’t need to install files or configure your laptop for this workshop.
We will use Amazon Cloud9 to access our AWS accounts via the AWS CLI in this Workshop. There are a few steps to complete to set this up
- Create a new Cloud9 IDE environment
- Create an EKS cluster
- Configure workshop specific requirements
Create a new Cloud9 IDE environment
Within the AWS console, use the region drop list to select us-east-1 (N. Virginia). This will ensure the workshop script provisions the resources in this same region..
Navigate to the Cloud9 console or just search for it under the AWS console services menu.
Click the Create environment button
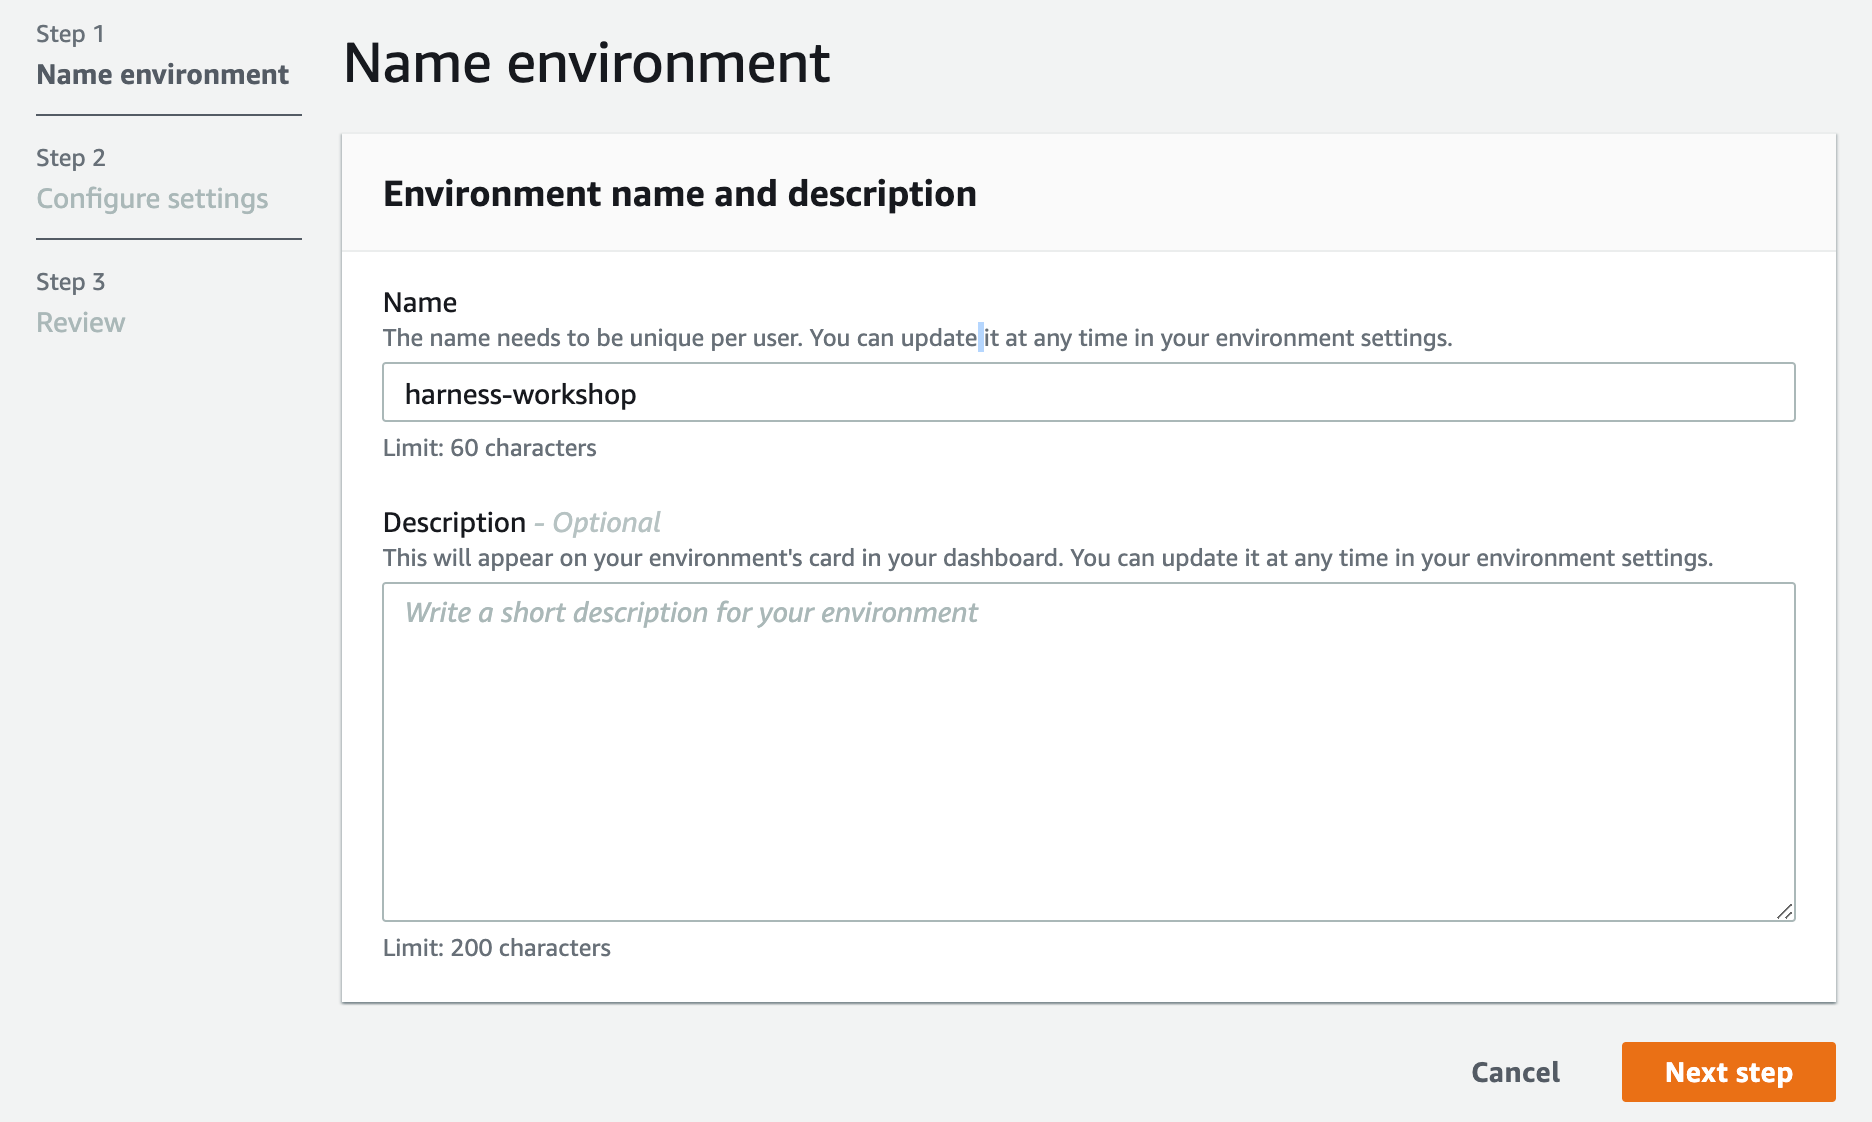
For the name use
harness-workshop, then click Next stepSelect the default instance type t2.micro
Leave all the other settings as default and click Next step followed by Create environment
This will take about 1-2 minutes to provision
Configure Cloud9 IDE environment
When the environment comes up, customize the environment by:
Close the welcome page tab
Close the lower work area tab
Open a new terminal tab in the main work area.
If you don’t like this dark theme, you can change it from the View / Themes Cloud9 workspace menu.
Cloud9 requires third-party-cookies. You can whitelist the specific domains. You are having issues with this, Ad blockers, javascript disablers, and tracking blockers should be disabled for the cloud9 domain, or connecting to the workspace might be impacted.